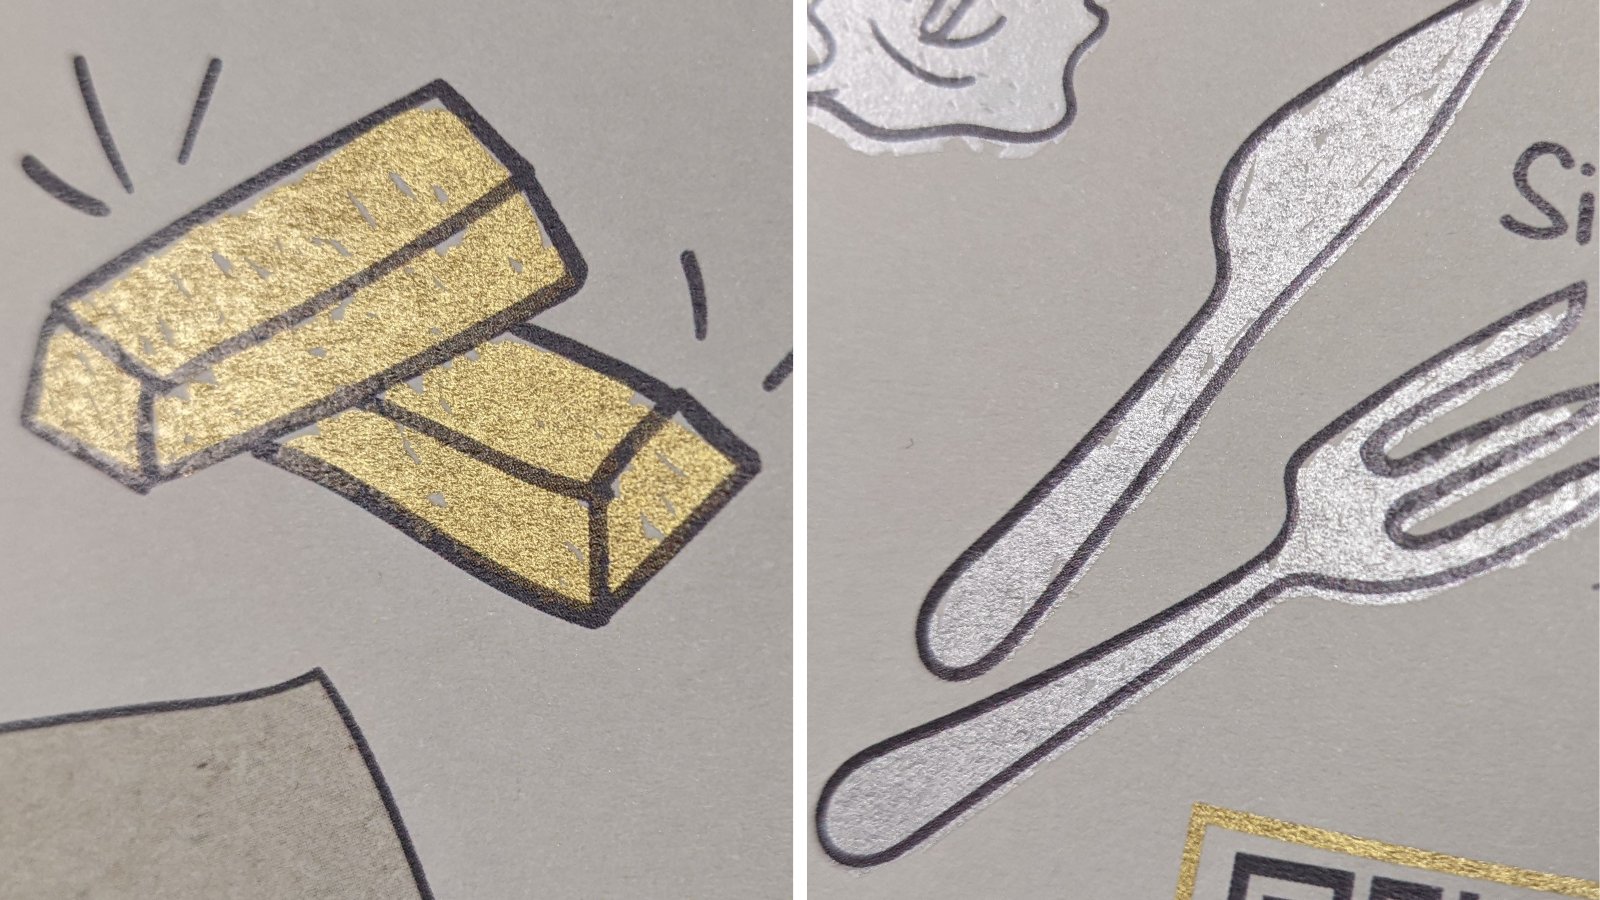
Learn how to use metallic, white and clear inks in your digital print projects!
Our investment in state of the art Xerox Iridesse 8 colour printing presses enables a number of enhanced print options, you can read more about metallic silver and gold, opaque white and clear inks in this blog post.
This article explains the basics behind using these awesome effects in your own projects. You can also download the complete Xerox Beyond CMYK Guide for full instruction and information.
Determine the printing requirements: Identify the areas in your design where you want to incorporate metallic, white, or clear inks. Understand the desired effects, such as metallic sheen, opaque white areas, or glossy accents. For example, including clear over CMYK will create a high gloss finish, whereas including clear over a metallic will create a matt effect.
Use compatible design software: Ensure that you are using a graphic design software that supports the creation of separate layers for each ink type. Adobe Photoshop, Illustrator, or InDesign are ideal.
Set up separate layers: Create individual layers in your design file for metallic, white, and clear inks (as necessary). Assign unique names to each layer for easy identification during the printing process.
Remember that the presses can print up to two spot colours in each pass, one under the CMYK and one over. For some combinations it is possible to add additional spot colours with additional passes through the press.
Define spot colors: Assign spot colours to the layers representing metallic, white, and clear inks (colours should be named White, Clear, Silver and Gold). We recommend Pantone 871 for Gold, Pantone 877 for Silver 20% cyan for Clear and 20% yellow for White, note that these values are for appearance only and will print as the intended colours.
Apply effects and adjustments: Customize your design elements on the respective layers. For metallic inks, consider adding gradients, highlights, or metallic textures. For white ink, use it as an opaque layer to cover dark or colored backgrounds. For clear ink, apply it to achieve glossy or textured finishes.
Set transparency mode for overprinting: Determine if you want the metallic, white, or clear inks to overprint or interact with other colors in your design. If overprinting is desired, ensure that the transparency mode for the special colors is set appropriately. In your design software, select the layer representing the special color, go to the blending mode or transparency settings, and choose the desired mode (e.g., Multiply, Overlay, Soft Light) to achieve the desired effect.
Set transparency mode for underprinting: If you want the metallic, white, or clear inks to be printed as a base layer, underprinting is required. Place the underprint layer below the CMYK content and set the CMYK layer to Overprint and Multiply transparency.
Adjust the metallics: Sometimes less is more! While logic would suggest that printing 100% silver under a CMYK colour or image would create the most metallic finished result, in reality a better result is often achieved by reducing the metallic shade to 60% (experimentation and proofing may be required to fine tune and achieve the perfect metallic shade for your particular design).
Talk to us: Share your design file with us and provide clear instructions regarding the intended use of metallic, white, and clear inks, including any desired overprinting or underprinting effects. Address any concerns or queries they may have to ensure a smooth printing process.
Request a print proof: Ensuring sufficient time is available for printed proofs and possible revisions is key. Request a print proof to verify that the desired effects of metallic, white, and clear inks, including the transparency settings, are achieved as intended. Make any necessary adjustments to your design if the results are not satisfactory. We will be happy to review your files as part of the process to weed out any obvious issues or file set-up errors prior to proofing.
For further support please refer to the detailed design guide (linked above) or get in touch with the team to discuss your ideas or arrange a personal tutorial.
